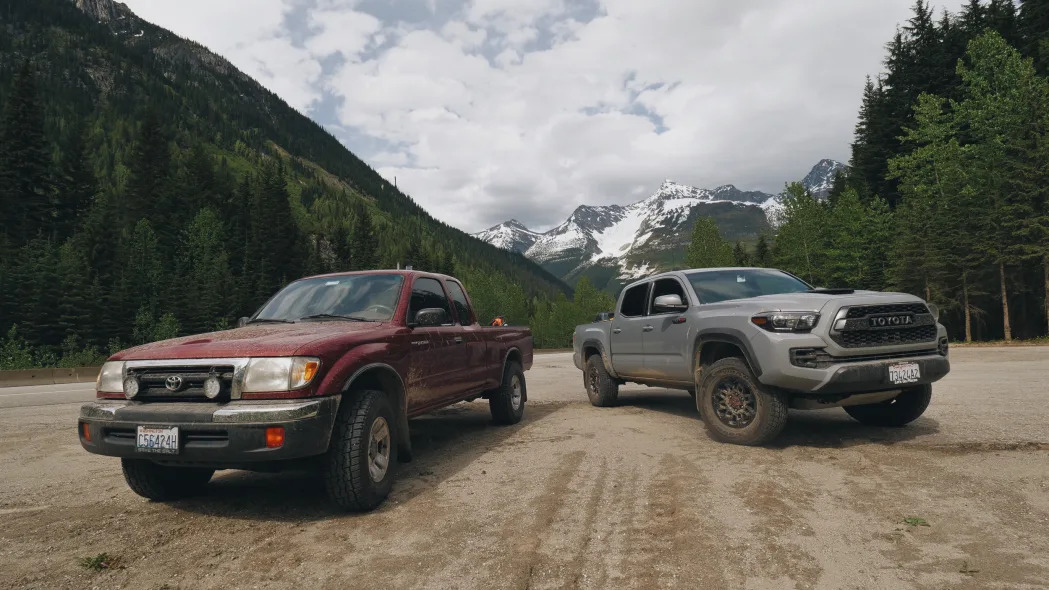
All you need to get way out in the sticks is a 4x4 with decent traction. But to get back, you might need more gear than that. There are plenty of places that you can go to figure out what kind of safety and recovery equipment you might want to carry for your backcountry trip, your vehicle, and your needs. For our trip in two Toyota Tacomas from near Seattle to Banff in Alberta, Canada, we assembled a ton of gear to get us out of any situation we thought we might encounter, and a few we didn't. That's because part of the trip would be on the Washington Backcountry Discovery Route, a linked series of trails and forest service roads that provides an almost pavement-free route from the Oregon border north to Canada.
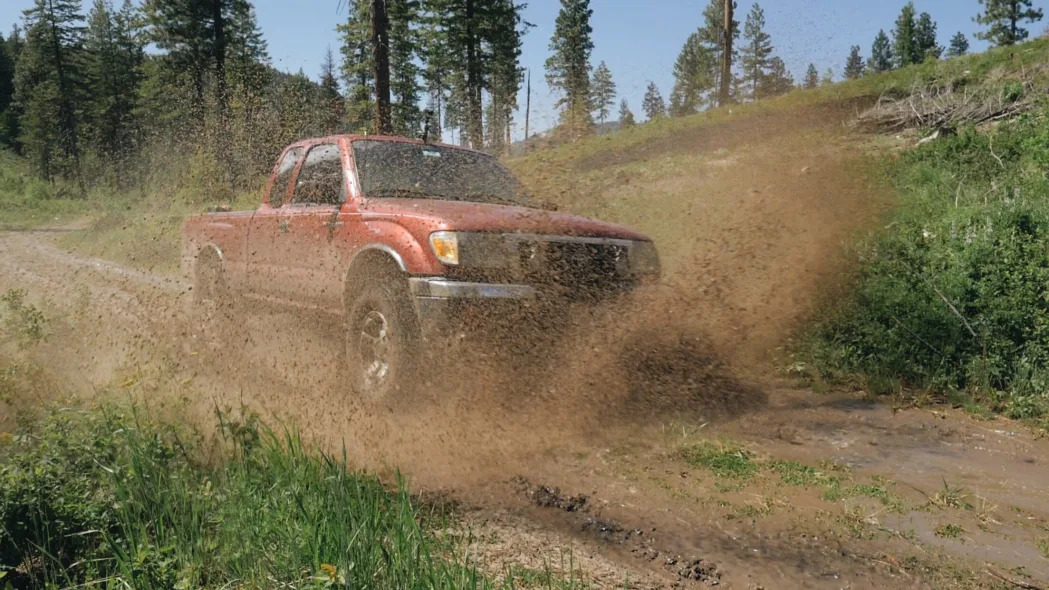
Much of the WBDR is in pretty good shape, but our trip was before prime backcountry travel season. A huge snowpack remained up in the mountains, no road-clearing teams had been down these roads to fix them, and we wanted to be prepared for washouts, downed trees, snow, or the unexpected. So we threw everything we thought we might need into the trucks, and were thankful we did. We didn't get stuck, so the recovery gear never came out, but we used the chainsaw and axes extensively.
This isn't intended to be a comprehensive packing list, but we thought we'd share what we carried in case it gives you some ideas about what you want to pack.
GET EDUCATED
Remember: In the backcountry, you're responsible for your own safety. The gear won't save you if you don't know how to use it safely. Be prepared. Take a backcountry first-aid class. Join an offroading club and have experienced members show you proper gear use. Ask a lot of questions and make sure you're comfortable with the gear you've got. It'll be fun, too. Trust us.
FIRST-AID KIT
This is just about the most important thing you can bring along. Don't know what to pack? There are many guides and even some pre-made backcountry first-aid kits. Cuts, broken limbs, and illness can happen in the woods and be very serious, so we made sure our kit included splints, tourniquets, bandages, disinfectant, fever-reducers (ibuprofen or acetaminophen), and water treatment pills.
TOOLS
Not shown in the video above is a pretty extensive toolkit we put together, which was kept in the bed in a locking metal toolbox. We researched all the common fastener sizes and put appropriate sockets, wrenches, and screwdrivers in there. We also tossed in a breaker bar, duct tape, and lots of zip ties. Lastly, some electrical equipment: crimpers, extra wire, electrical tape, a multimeter, and crimp connectors. Don't forget a big hammer!
Not needing to use the tools is probably the best tool to have. We checked everything on our older truck, topping up fluids and replacing essential components. Make sure your rig is reliable enough to get you out of the backcountry before heading out.

FLUIDS AND FUEL
We also carried spare fluids, including coolant, engine oil, and gear oil, as well as engine accessory drive belts and spare coolant hoses. Losing one of these is the same as losing traction altogether — you're not going anywhere without coolant!
Same goes for fuel. We brought along an inexpensive Scepter plastic fuel can and a much more expensive metal Wavian NATO-style can. Both have to conform to federal requirements and so have finicky, hard-to-use no-spill pour spouts. We had leaking issues with both, until we mastered the learning curve. The Wavian is heavy but tough; the Scepter was light and cheap but expands and contracts as the temperature changes and could rupture if it fell out of the truck. Rotopax modular fuel cans are well-regarded, but we didn't try one out. Based on our testing, get a high-quality NATO-style can like the Wavian if you have the cash. (And lock it down so it doesn't get swiped!)
TRAIL CLEARING EQUIPMENT
This is the fun stuff. Winter in the Cascade Mountains brings heavy snowfall and wind, and that means downed trees on the trail. If you're the first one through, you will probably have to clear at least one. My Stihl MS170 is a light-duty saw, but with a sharp chain it'll go through a reasonably-sized trunk. It saw lots of use on the trip. Don't rely on it alone.

Bring a pulaski, too – the combination axe-mattock that lets you chop or dig, and the one recovery tool to carry if you can only carry one. It's not as fast for digging as a shovel, but it'll work. A sharp hatchet or machete is also good for clearing small branches and brush. Heavy leather gloves, good footwear, and eye protection are a must if you're using an axe or a chainsaw. Make sure they're handy for when you need them.
We brought a short, D-handled shovel for serious digging, like a tire trapped in a muddy hole. Entrenching tools are very compact but miserable to use. Unless space is at a serious premium, take a real shovel.
TRACTION AIDS
Up in the mountains, mud and snow were real threats to our ability to get down the trail. Choosing good tires is the best thing you can do to stop problems before they start. The 1998 Tacoma wears Dean Backcountry SQ-4s, not a top-of-the-line all-terrain tire but adequate with deep, blocky treads. The TRD Pro came with Goodyear Wrangler All-Terrain Kevlars, a compromise tire with less aggressive tread blocks. Both handled some mud holes fine, but might have struggled up a muddy or sandy hill. The gold standard in tires you can offroad with, that won't beat you up on pavement, is BF Goodrich's All-Terrain KO2 tire (or its KM2 counterpart for muddier conditions). General Grabber AT2s are also highly regarded.
When tires start slipping, shifting into 4WD might help, but airing down almost certainly will — doing both is best. Airing down is literally deflating your tires, which gives them a bigger and more conforming contact patch. It lets more tread get down into the trail, and spreads out the load. A quick deflator, like our ARB EZ-Deflator that the company provided for us to evaluate, works great: It pulls out the valve stem core, making the process quick and painless. Other devices exist, including ones that automatically stop deflating at a preset pressure. Like the EZ-Deflator, each has its pros and cons. Bring what suits you best.
What airs down must also air up. We had a couple of inflation aids, one being an inexpensive Viair compressor we got on Amazon. It works great for less than $40, although it's loud and slow. We also had the more convenient ARB "Compressor in a Box," which was higher quality. Fast is a virtue here — airing up can take awhile. A tire repair kit is also essential; ARB gave us a nice, complete kit, but there are plenty of others out there. A can of "tire slime" won't cut it 50 miles from nowhere.
We also brought along snow chains. Airing down is usually sufficient for fresh, soft snow, but if we'd faced slippery, hard-packed snow or ice on the mountain highways or on the trail, the chains may have been useful. Chains may not be legal for road use in your area, so make sure you know the laws where you're going.
Traction boards and mats are very popular and can be quite useful. We didn't have any along, but in broad terms MaxTrax boards are very well-regarded.
RECOVERY GEAR
What you bring in terms of recovery gear — gear to get yourself unstuck — depends on whether you're wheeling alone or with at least one other vehicle. It's always recommended to have another vehicle along to increase the margin of safety. Sometimes that's not possible, particularly for traditional one-vehicle overlanding. But the basic premise is this: If your vehicle is seriously stuck, how will you get it out?
If airing down or digging out wouldn't work, our next resort was bringing some mechanical advantage to bear. Our X-Jack, provided by ARB, is an alternative to the very common Hi-Lift jack (sometimes called a farm jack). The Hi-Lift can jack a vehicle way up, to allow you to dig out or to slip traction mats or boards under the tires. Often it's enough to get you free. It can even be used as a come-along, a manual winch, to pull your vehicle out (very slowly and with great effort). But Hi-Lifts are relatively dangerous tools even if used correctly. They can shift and drop the vehicle, or the handle can swing around with enough force to break your jaw or arm.

We opted for the X-Jack since we're not experienced Hi-Lift operators. The X-Jack lifts the truck up by inflating a heavy-duty cylindrical balloon using a hose going to the tailpipe. It sounds ridiculous, but we tested it and it works great (with some fiddling to keep the hose in the tailpipe). While lifting a vehicle on uneven terrain is always dangerous, we loved the margin of safety and easy deployment of the X-Jack.
If that doesn't work or isn't tenable, yanking the vehicle out with a rope or strap might. We brought a ARB Essentials Recovery Kit, a basic but adequate kit including the sort of straps and hardware you'd need to carefully use one vehicle to extract the other. We also brought a small, portable winch, the Superwinch Winch2Go, in case we needed an additional pulling angle or the other vehicle wasn't able to pull. Rated at 4,000 pounds, it's undersized for the application, but the pulling force can be increased by doubling the line using a block. A manual hand winch, like a Brano or ARB Magnum, would have been a stouter but equally portable solution for those who don't want a permanently-mounted winch.
A better option for someone who will actually rely on a winch for recovery is a full-size winch bolted onto a secure mounting plate, usually nestled inside a heavy bumper or on a hitch receiver. There are many options out there, including different line types and brands, so you'll have to do some serious research to figure out the right one for your rig. Winches can be really dangerous. A parted metal cable could maim or kill you, and a bad pull could damage your truck or the environment. Find an expert to teach you proper winching technique.
CONCLUSION
We had a ton of fun on this trip, and didn't end up needing to use most of this equipment. But knowing we were equipped to tackle most foreseeable situations helped us make the most of the backcountry experience. No list can properly prepare you for the situations you'll encounter, so use this article as a jumping off point to assembling the safety and recovery gear that you need for your own unique situation. Remember: your rig, your responsibility. Stay safe out there.
Note: Since ARB is sort of a one-stop shop for overlanding gear, we asked and the company kindly provided us with some of the equipment we brought along on the trip so we could evaluate it. We were nice to it and were able to return it all. ARB makes great stuff, but our usage of it on this trip is for illustrative purposes only and is not an endorsement, paid or otherwise.
Related Video:

Sign in to post
Please sign in to leave a comment.
Continue